使用 Notebook
本教程演示如何使用 Notebook 进行模型开发相关的工作。
打开 JupyterLab
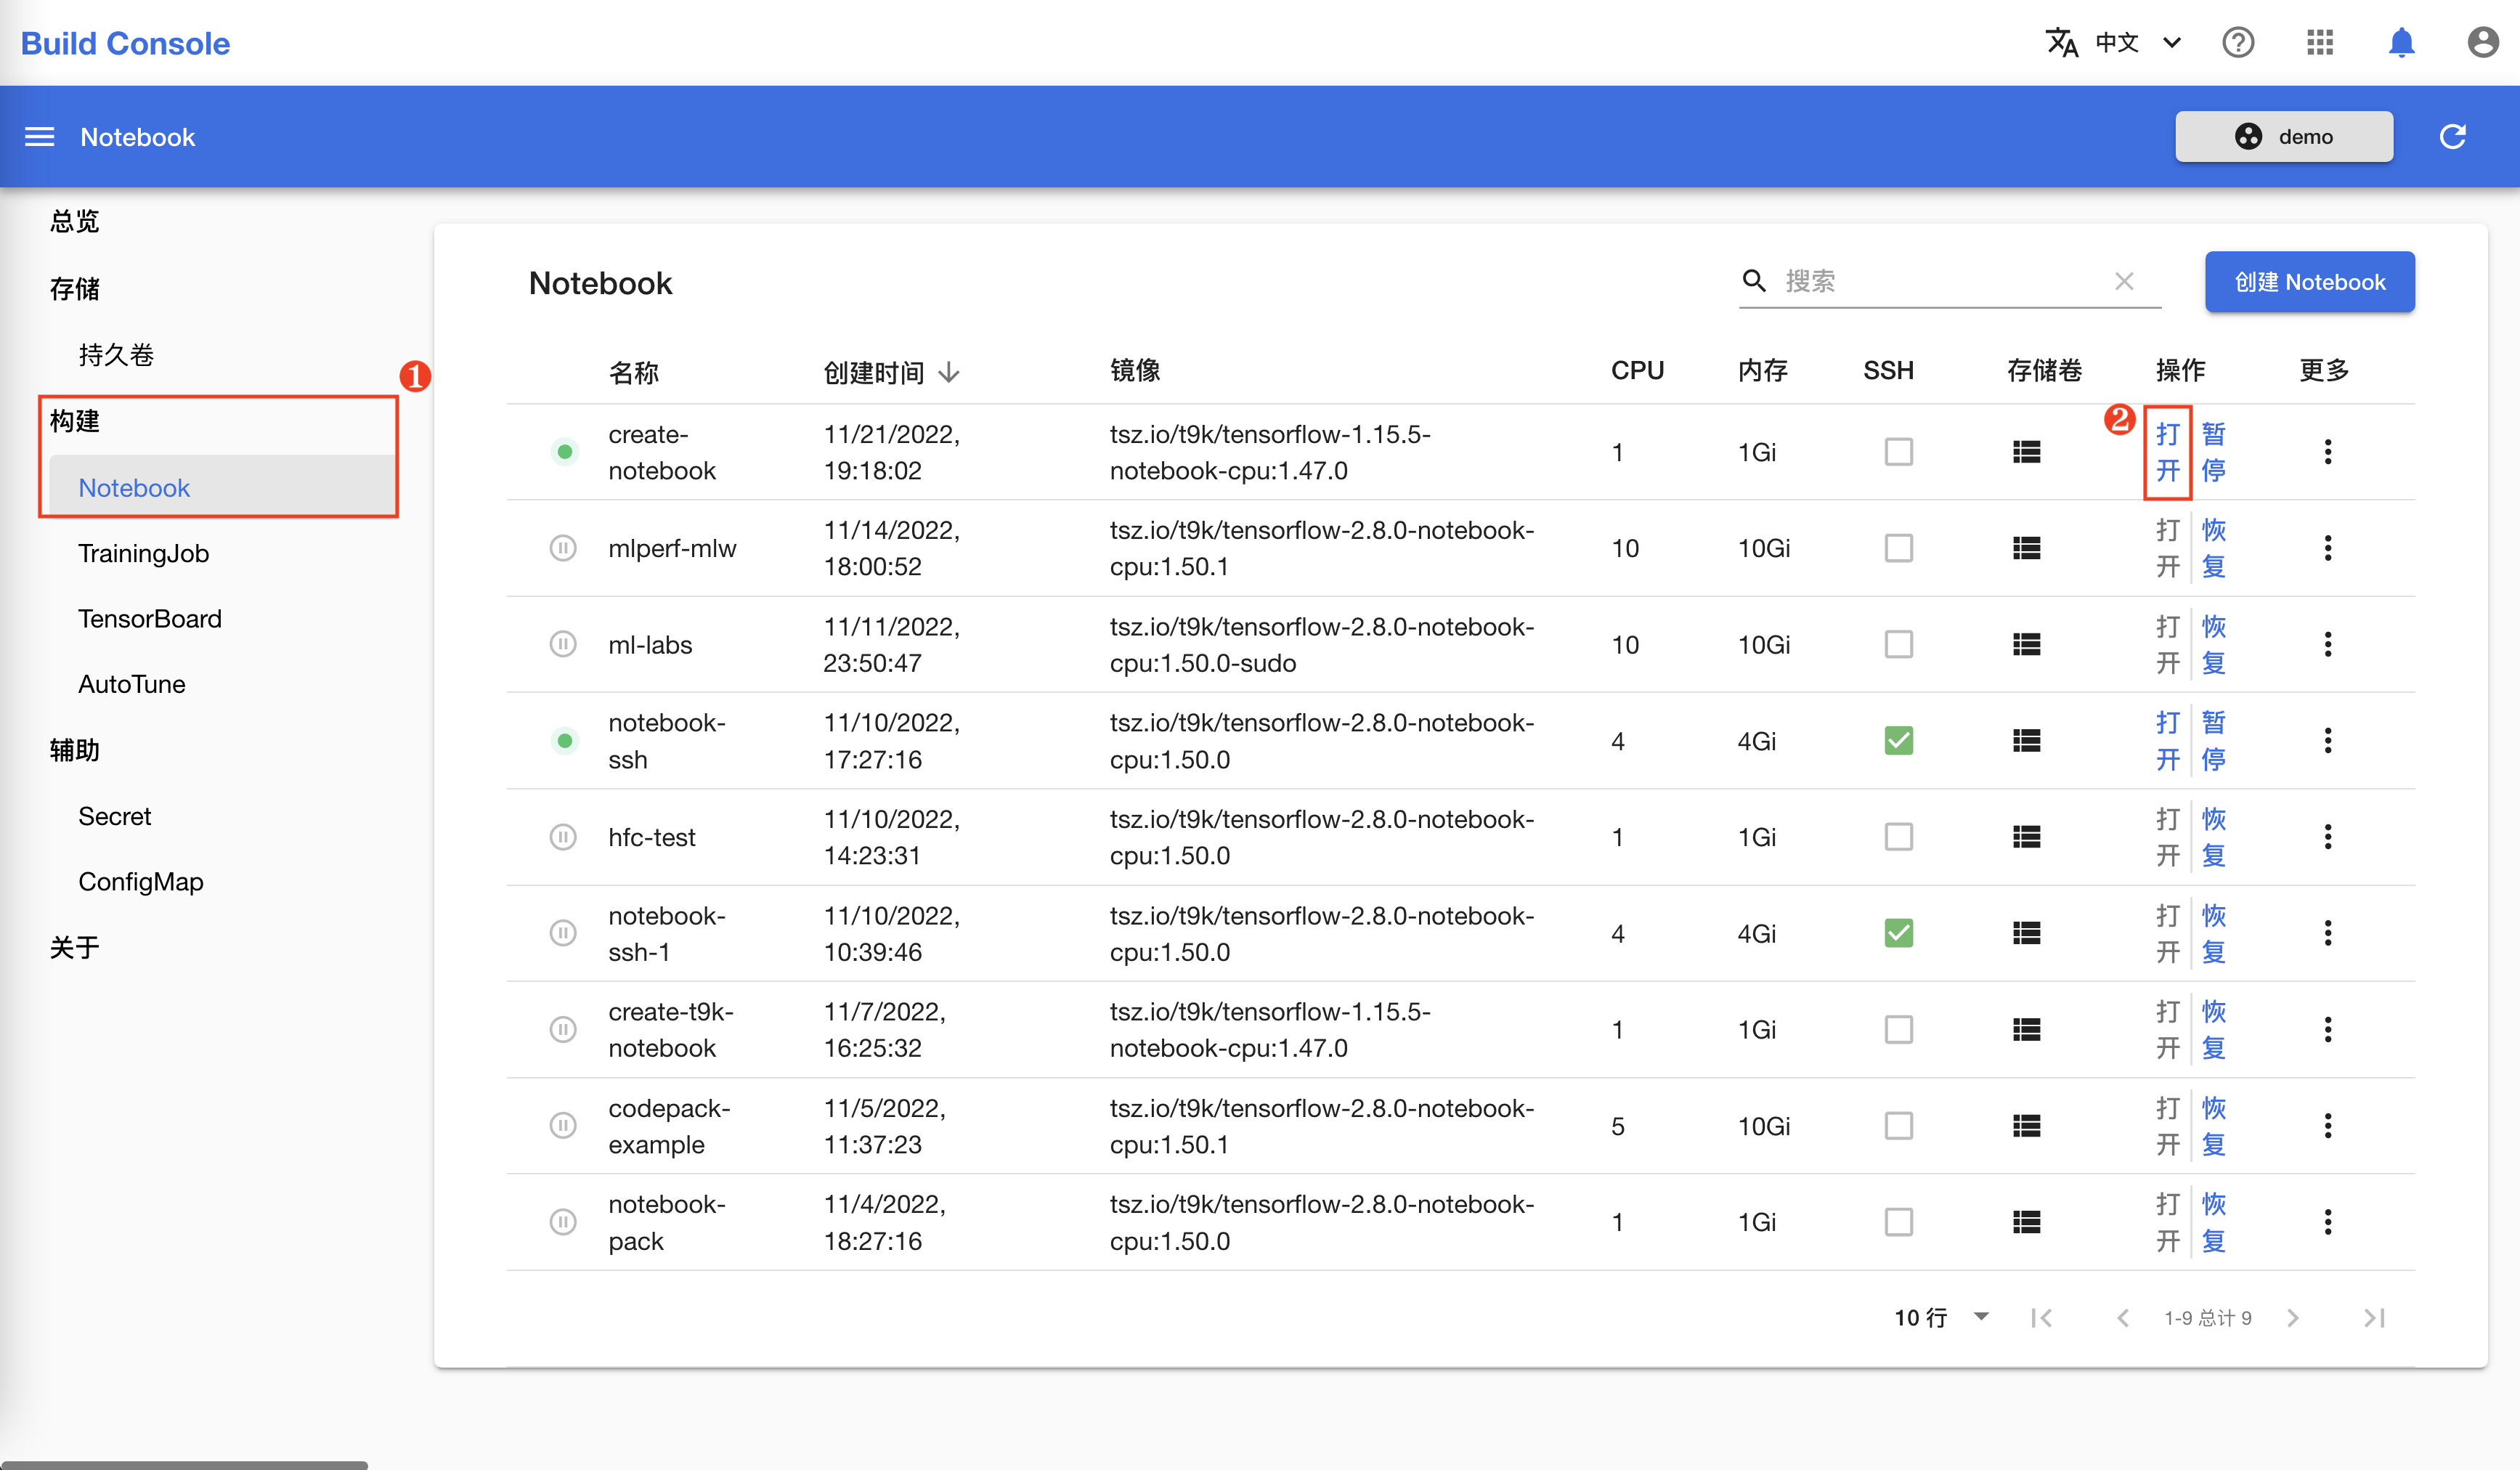
在模型构建控制台的左侧导航菜单中点击构建 > Notebook 进入 Notebook 管理页面,然后点击运行中的 Notebook 右侧的打开:
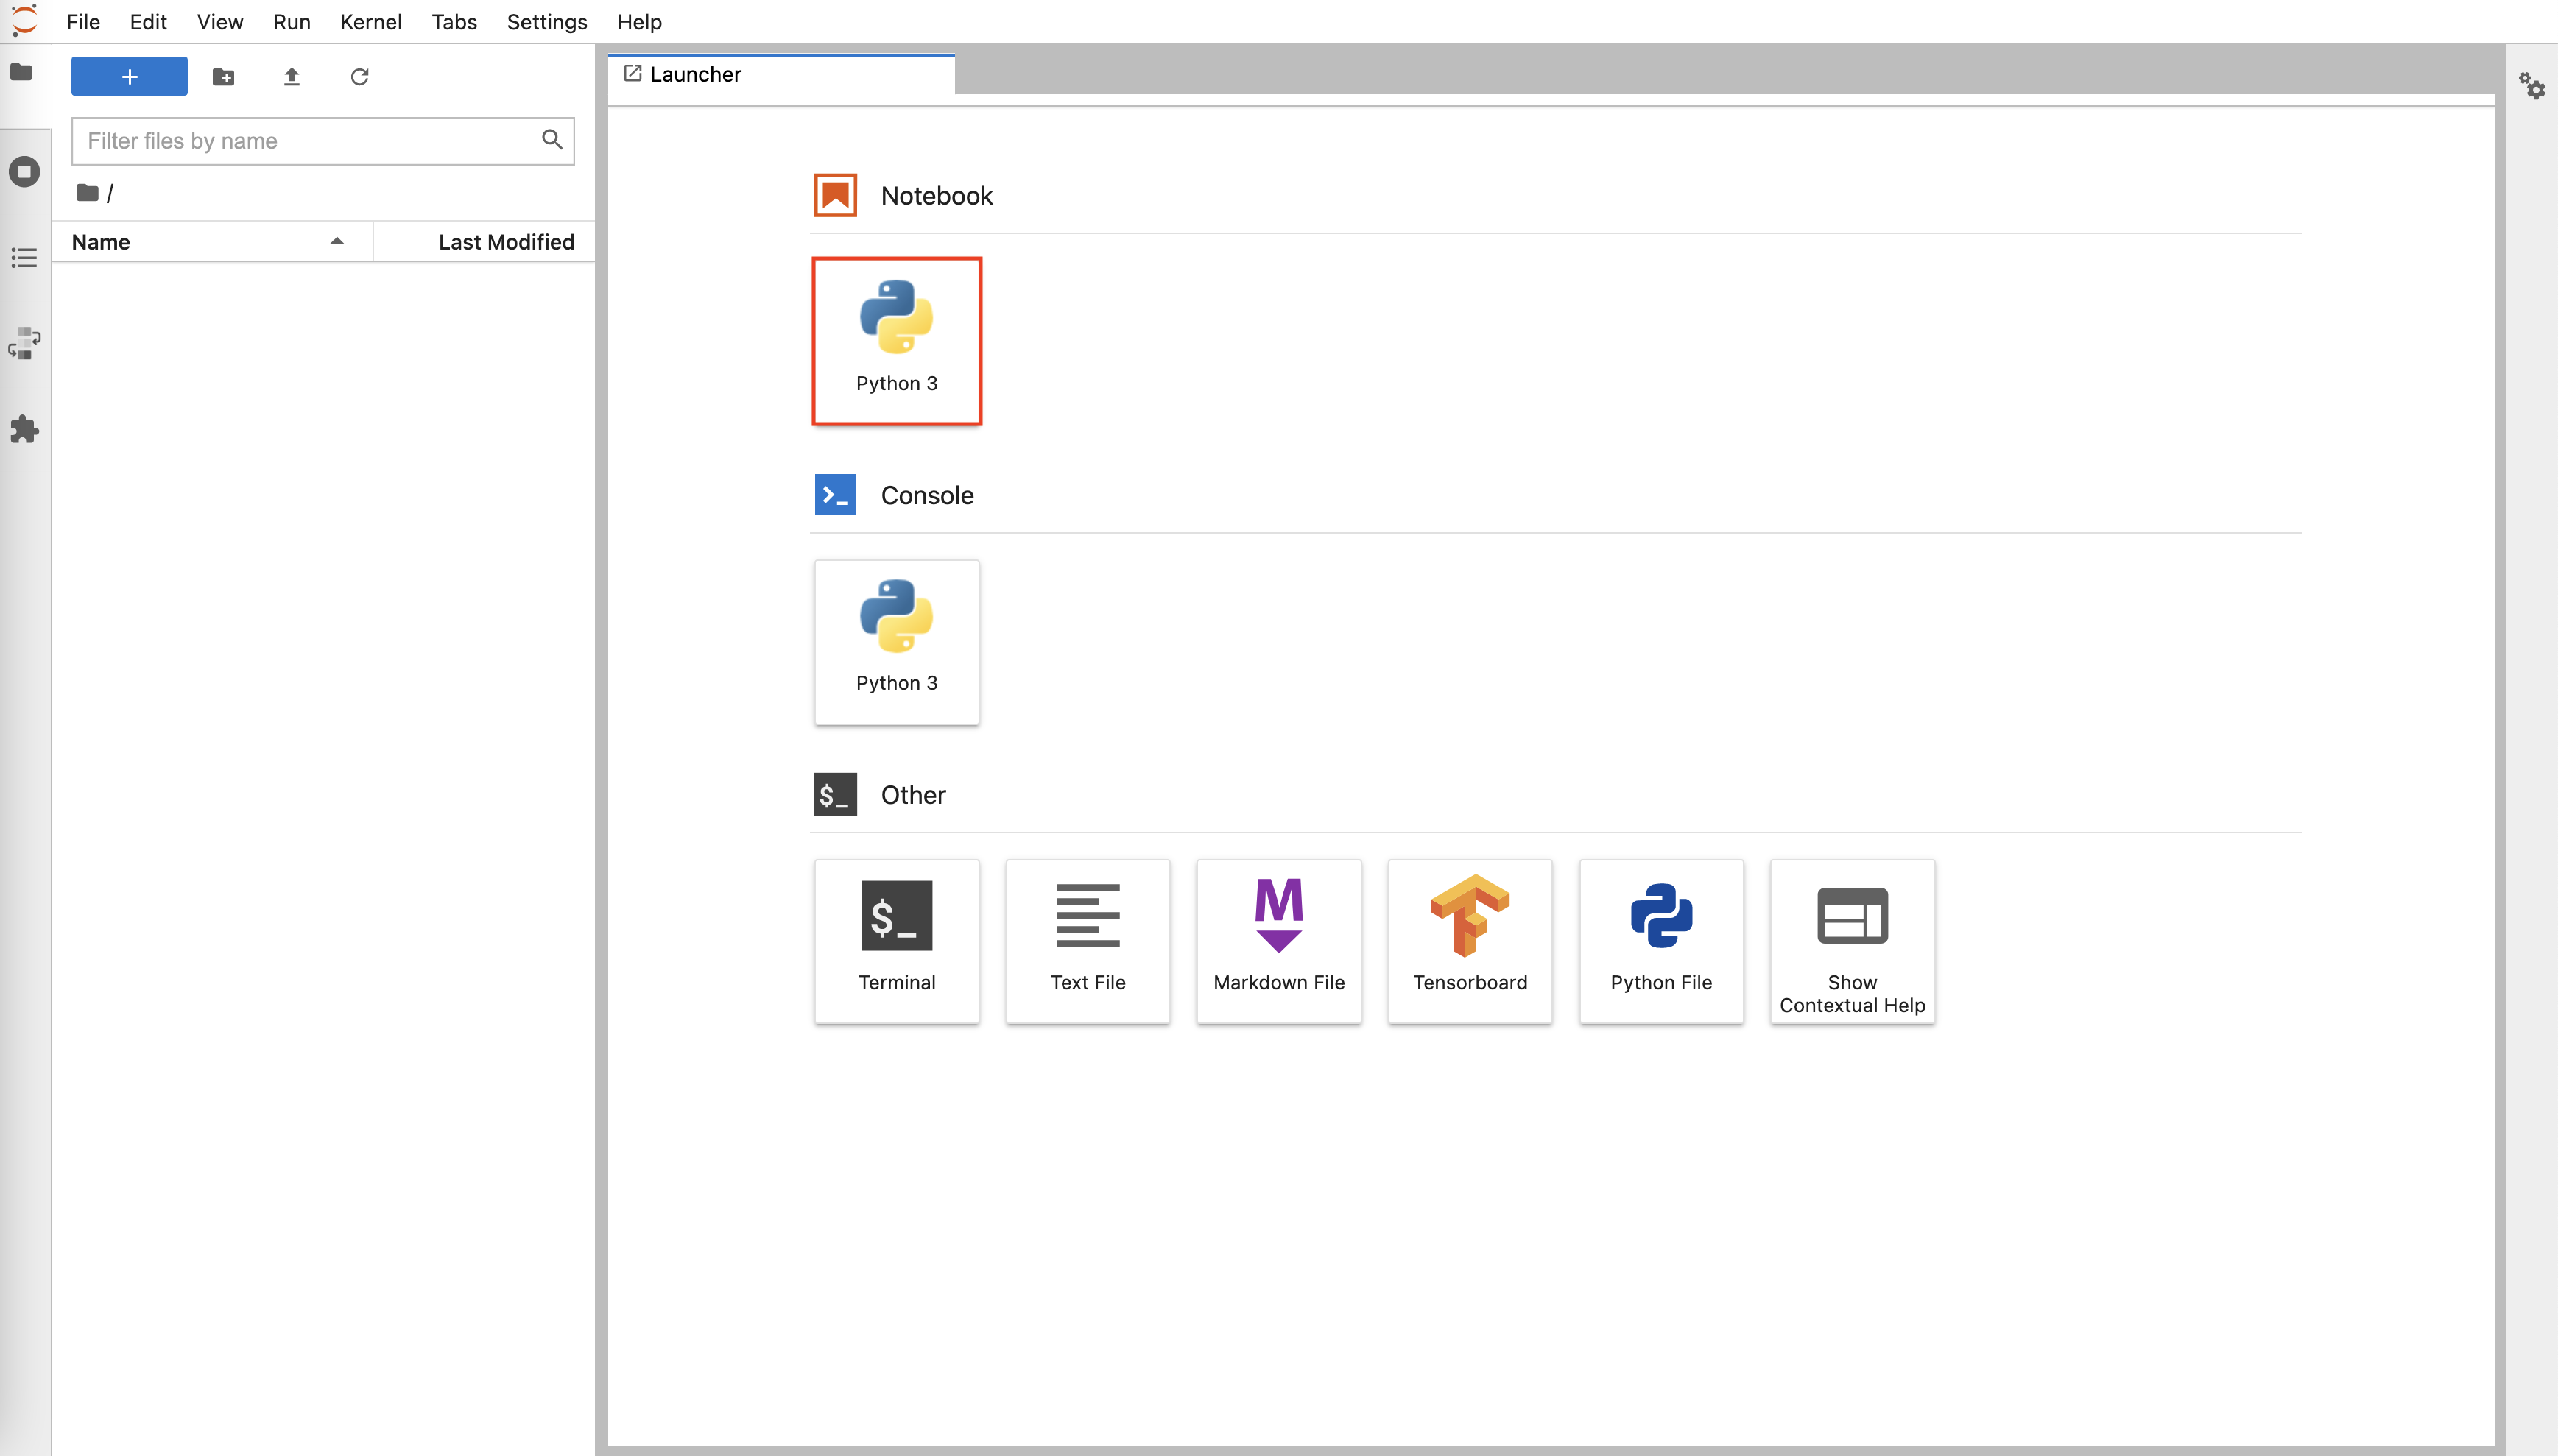
进入到 JupyterLab 的页面:

使用 Jupyter Notebook
点击 Launcher 标签页下,Notebook 下方的 Python3 图标以创建 Jupyter Notebook:
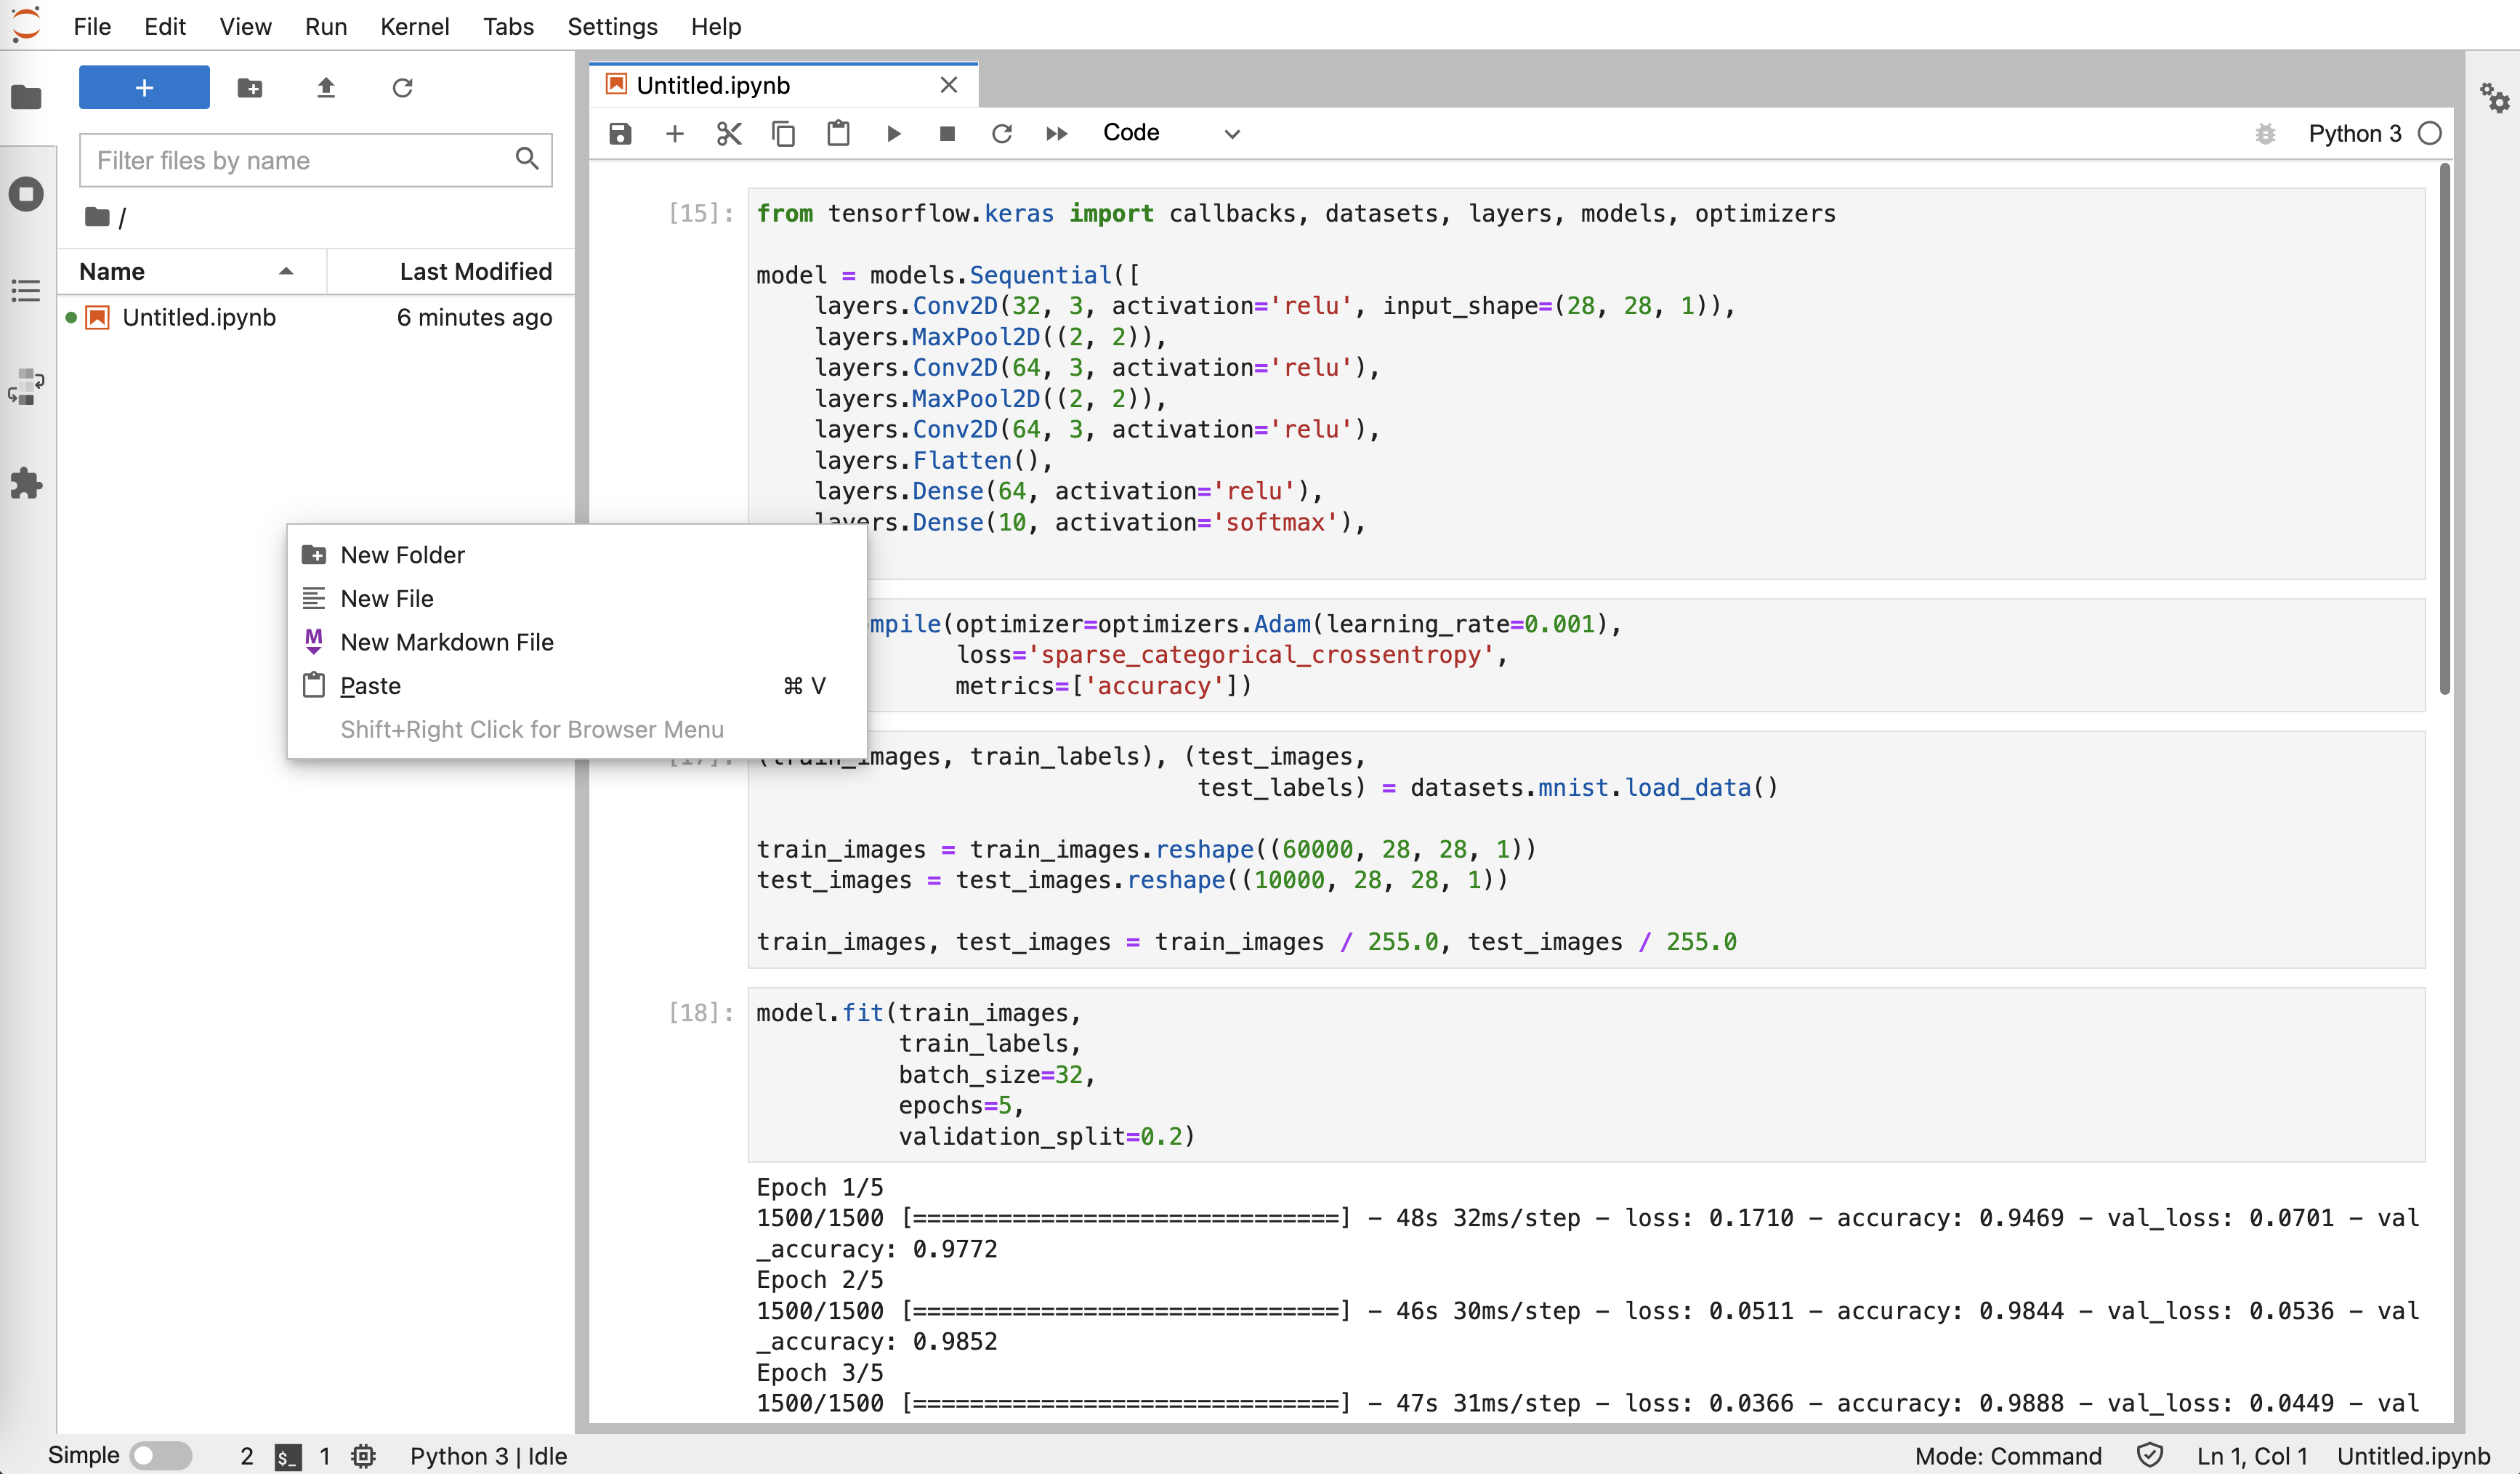
Jupyter Notebook 提供了交互式的 Python 开发环境。你可以在这里分块编辑并运行 Python 代码。比如运行 keras_mnist.py:
from tensorflow.keras import callbacks, datasets, layers, models, optimizers

model = models.Sequential([
    layers.Conv2D(32, 3, activation='relu', input_shape=(28, 28, 1)),
    layers.MaxPool2D((2, 2)),
    layers.Conv2D(64, 3, activation='relu'),
    layers.MaxPool2D((2, 2)),
    layers.Conv2D(64, 3, activation='relu'),
    layers.Flatten(),
    layers.Dense(64, activation='relu'),
    layers.Dense(10, activation='softmax'),
])
model.compile(optimizer=optimizers.Adam(learning_rate=0.001),
            loss='sparse_categorical_crossentropy',
            metrics=['accuracy'])


(train_images, train_labels), (test_images,
                            test_labels) = datasets.mnist.load_data()

train_images = train_images.reshape((60000, 28, 28, 1))
test_images = test_images.reshape((10000, 28, 28, 1))

train_images, test_images = train_images / 255.0, test_images / 255.0

model.fit(train_images,
        train_labels,
        batch_size=32,
        epochs=5,
        validation_split=0.2)
model.evaluate(test_images, test_labels)

编辑文件
在左侧的文件系统导航菜单空白处右击,可以创建文件和目录:
创建名为 keras_mnist.py 的文件,双击以进行编辑。复制上文中 keras_mnist.py 的内容,粘贴在文本编辑器中并保存:

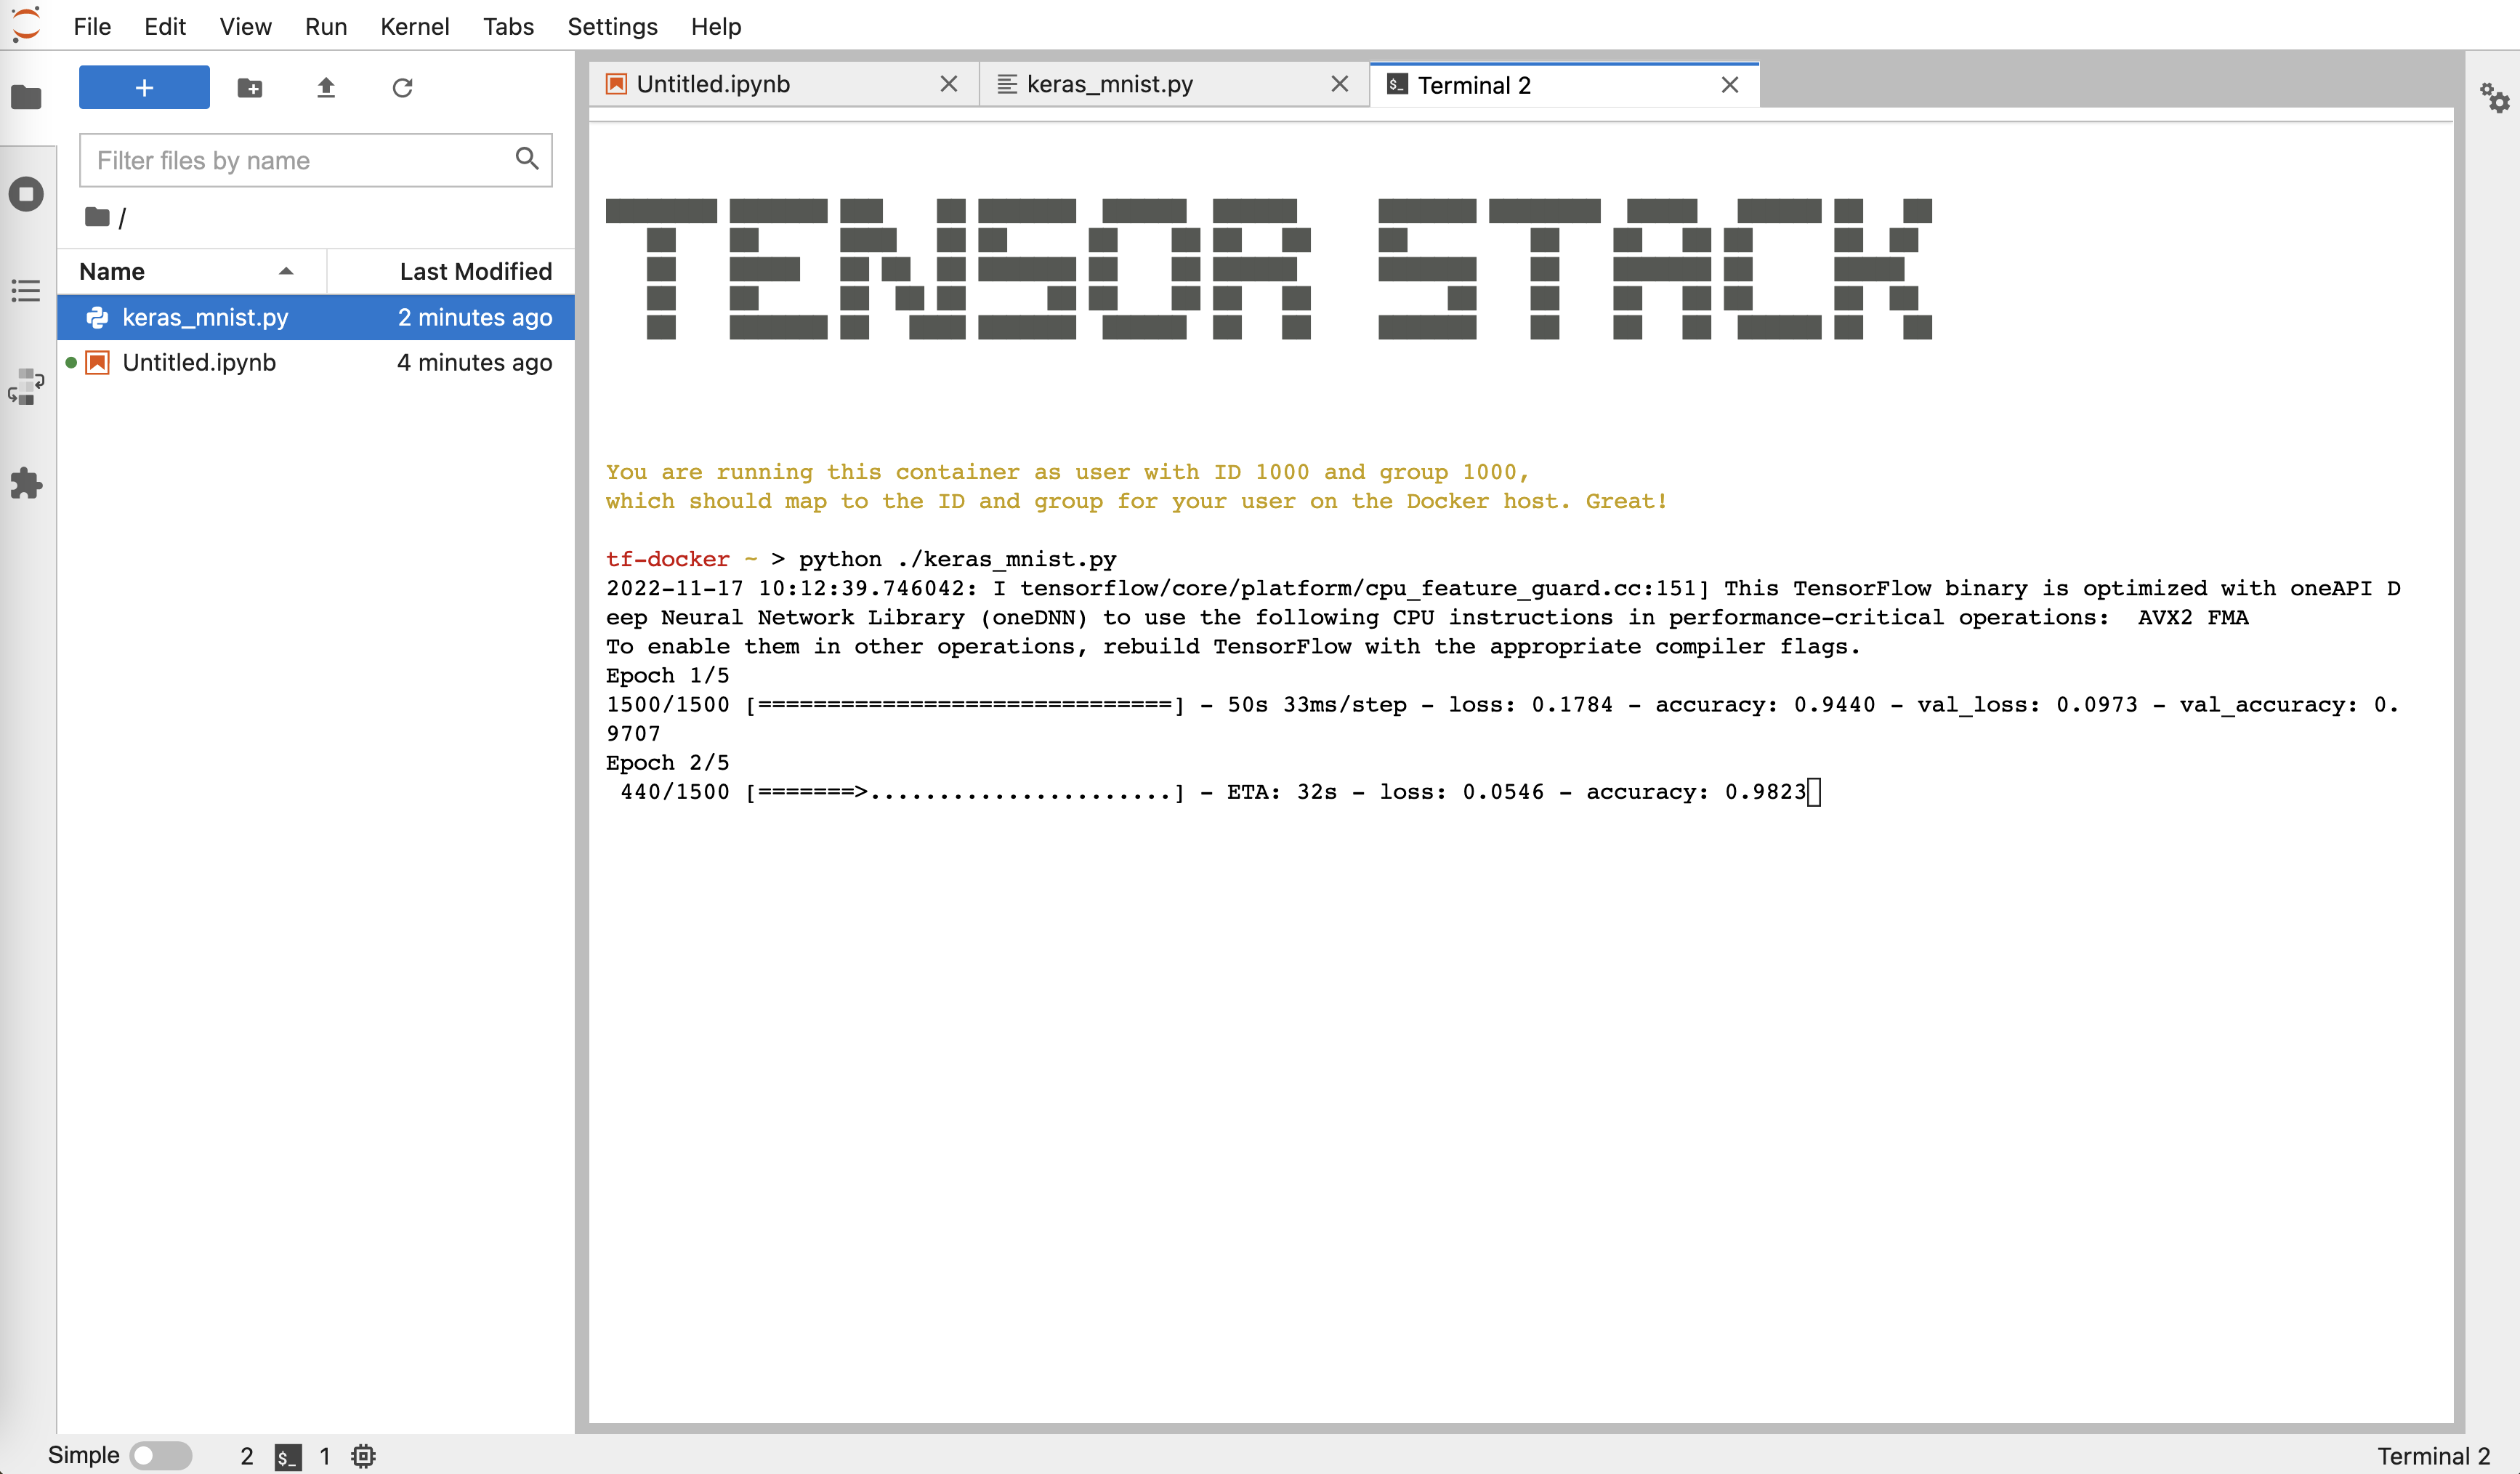
使用 Terminal
点击左上角蓝色底色的 + 符号打开新的 Launcher 标签页,然后点击 Other 中的 Terminal 进入命令行终端。你可以在这里运行各种 bash 命令,例如运行 python ./keras_mnist.py 来进行模型训练:
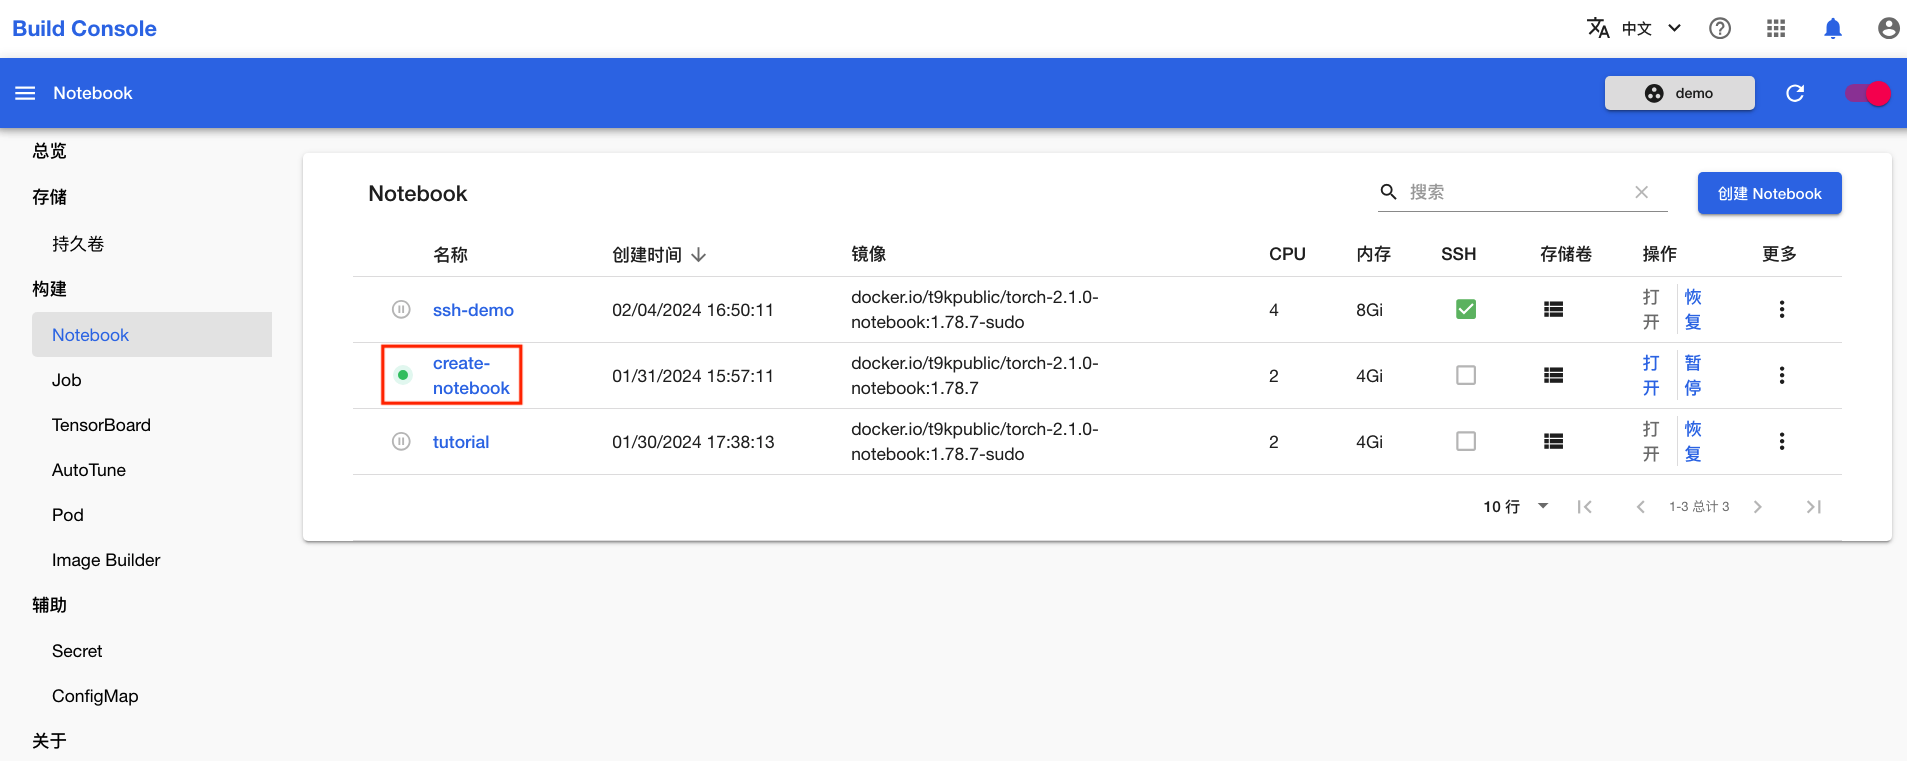
查看详情
在 Notebook 管理页面,点击 Notebook 的名称进入其详情页面:
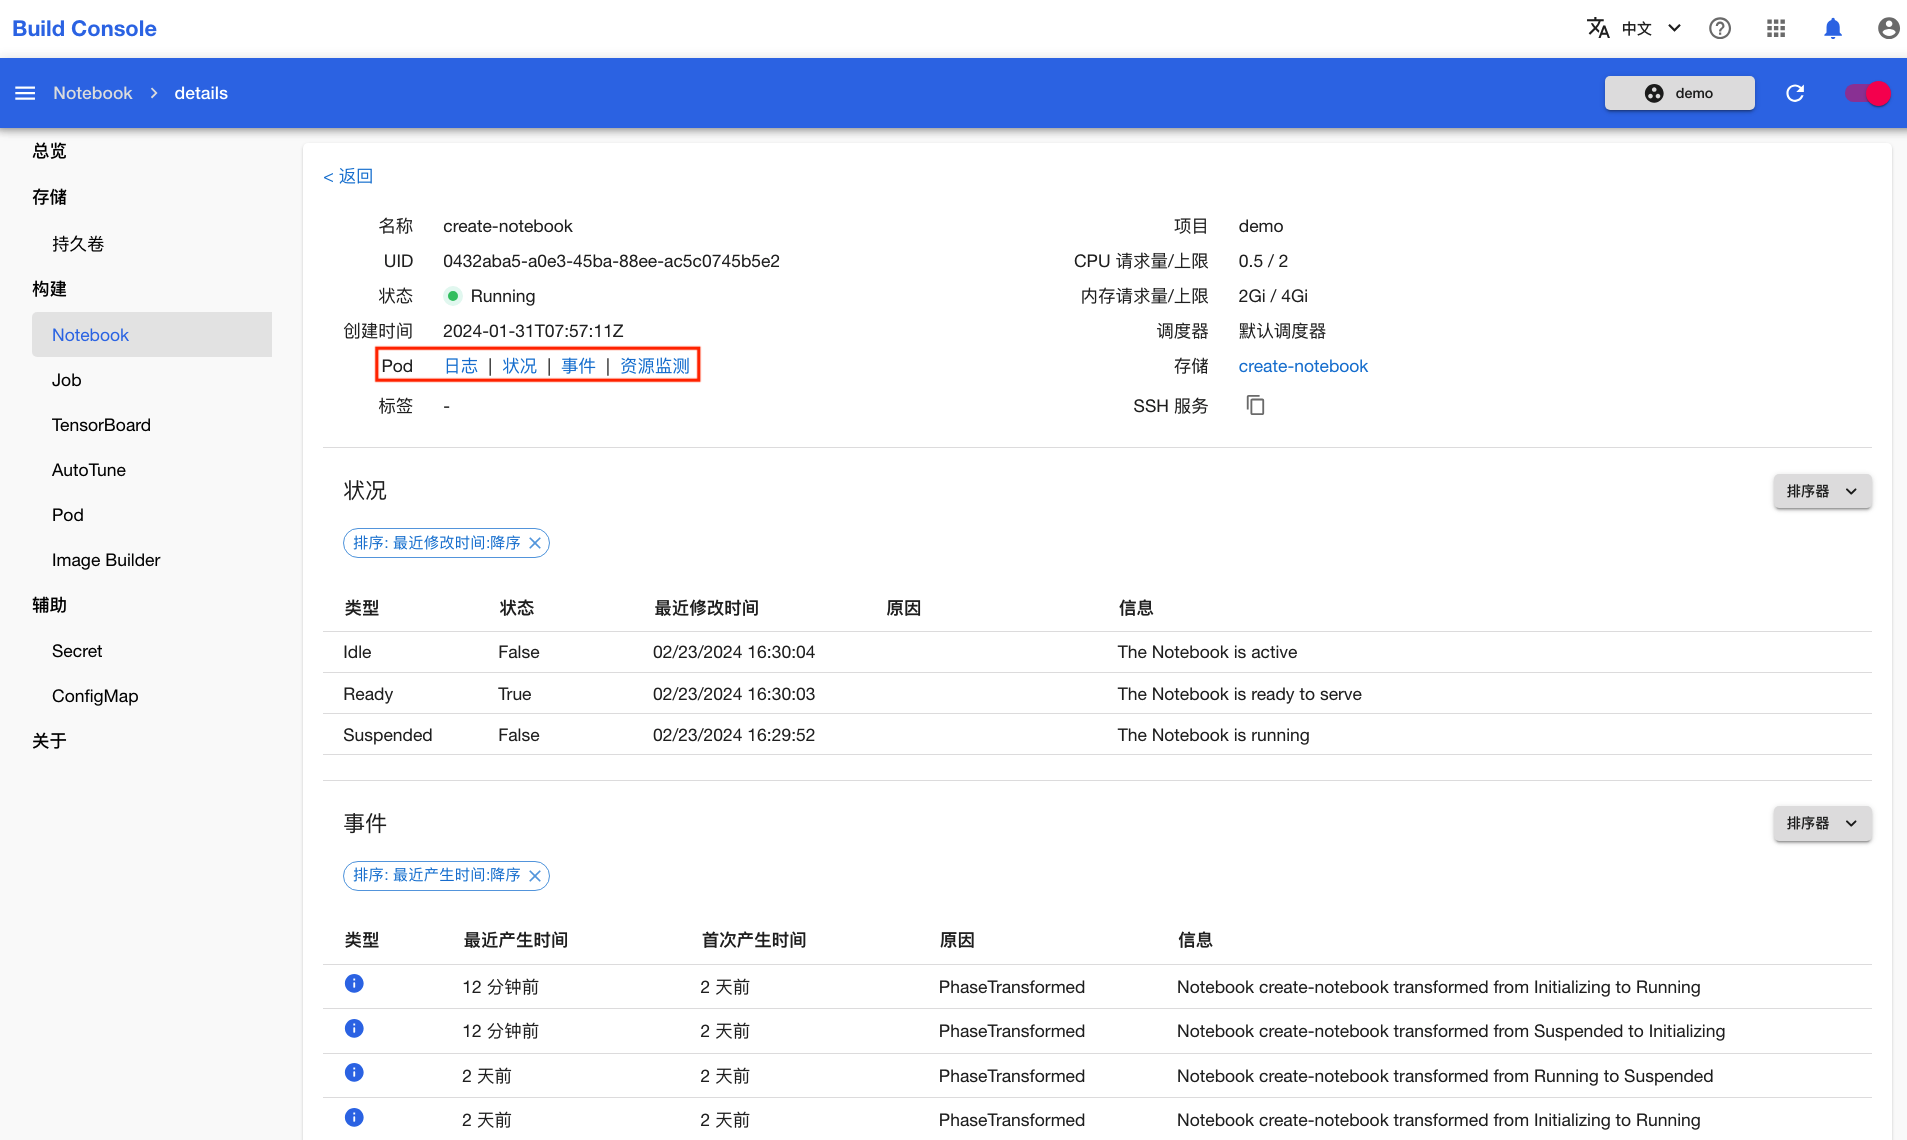
Notebook 的详情页面展示了 Notebook 的基本信息、状况和事件。点击 Pod 右侧的链接可以查看 Pod 的日志、状况、事件、资源监测等信息:
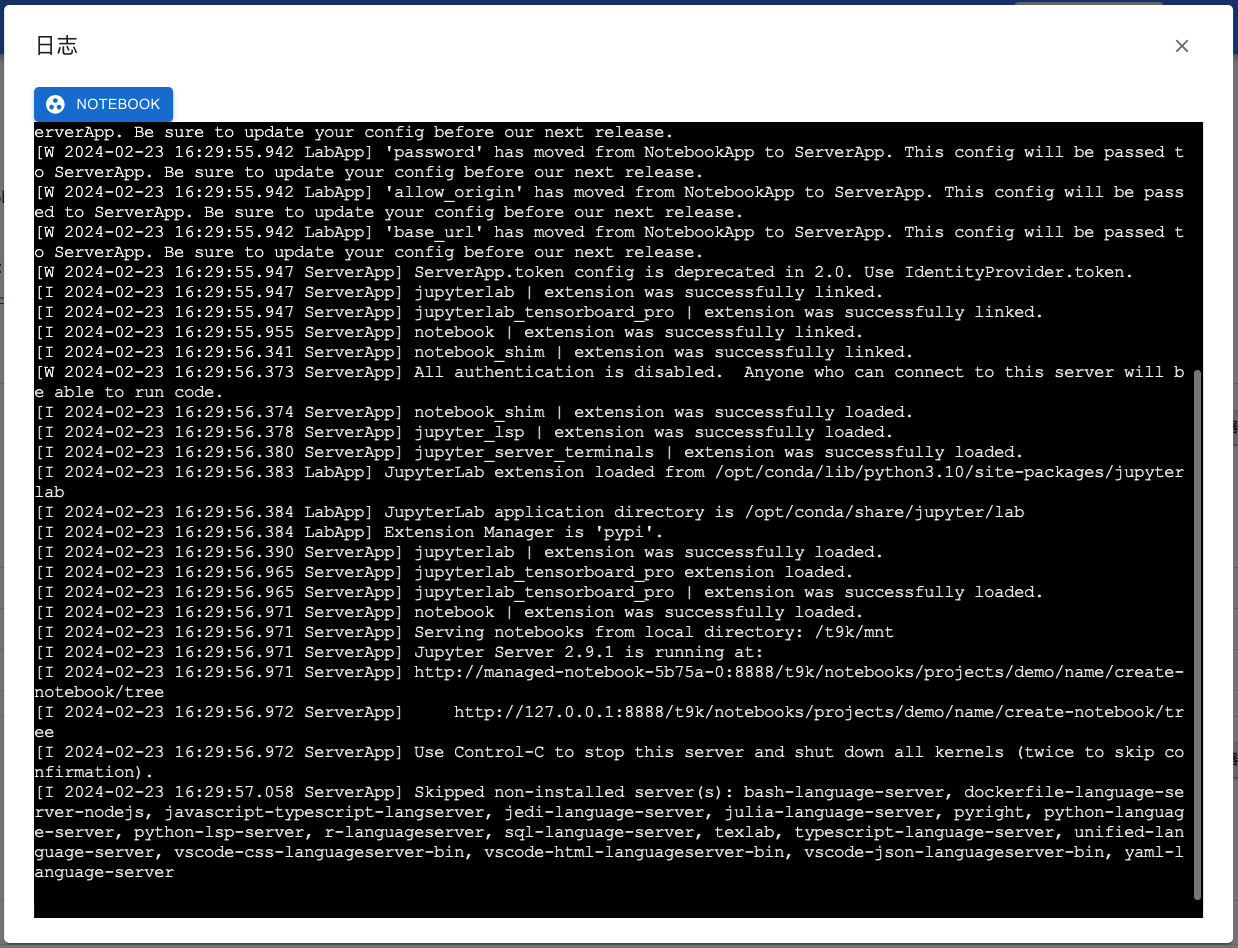
查看日志
点击日志,查看 Notebook Pod 的运行日志:
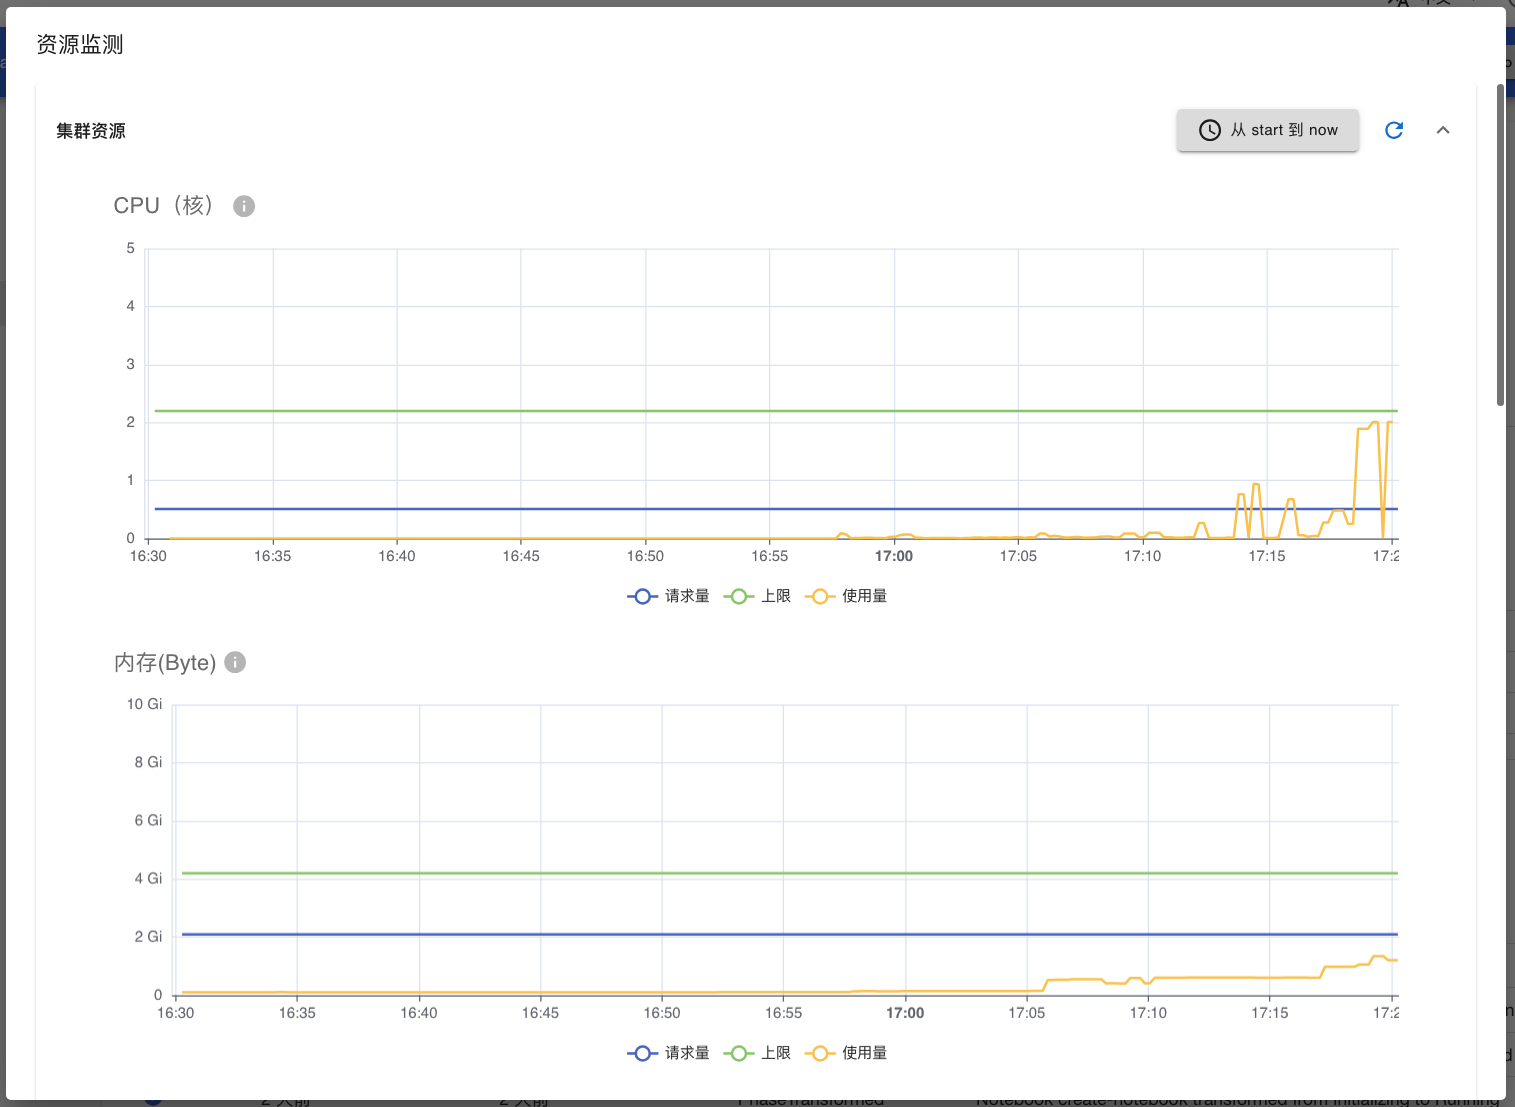
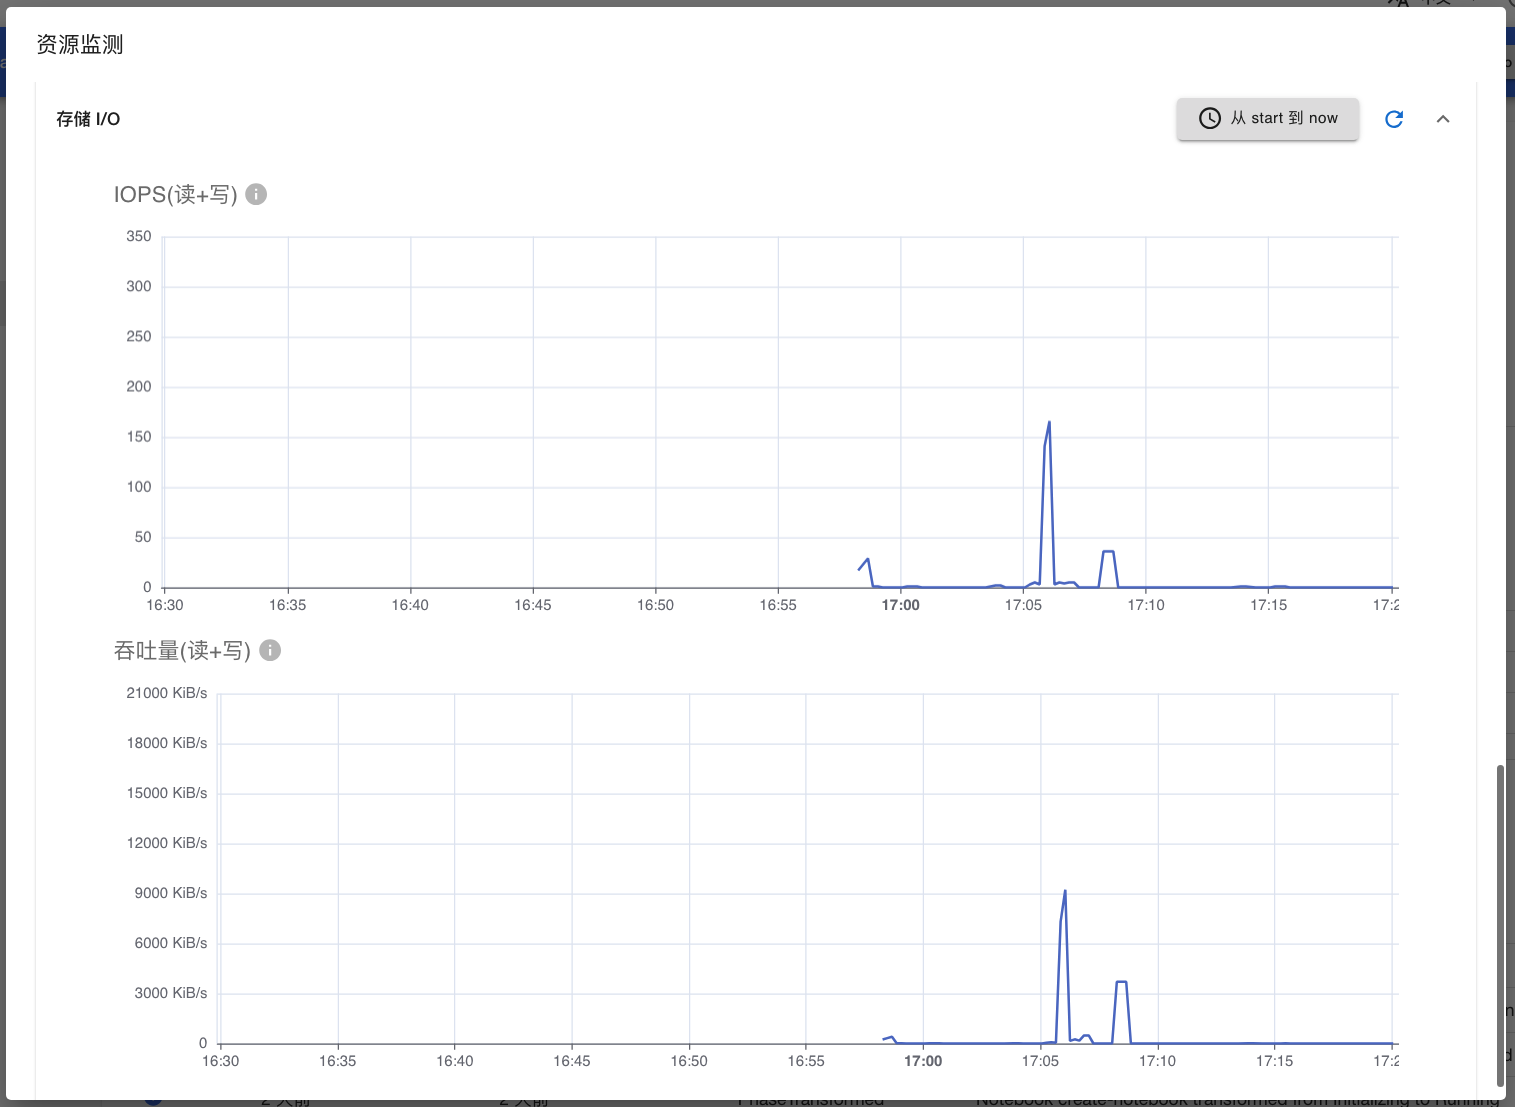
查看资源监测
点击资源监测,查看 Notebook Pod 运行时实际使用的资源,包括 CPU、内存、存储 I/O 的使用量: